The K31 bolt as removed from rifle. Note the bolt flange with its slots 90 degrees apart.
| Pull bolt open. Press down on bolt release lever and
withdraw bolt. |
| Wipe off surface oil. Hold the bolt
body and operating bar in the left hand (apologies to lefties), then with the right hand, pull back on the cocking/safety ring until the sear at the bottom clears, and rotate 45 degrees clockwise, halfway between "Safe" and "Fire". Ease the ring forward to rest the sear on the rear face of the bolt flange. |
Cocking/safety ring in the 45 degree disassembly position.
Detail exaggerated (crudely) by writer.
Locking lugs are still horizontal and operating bar still
back.
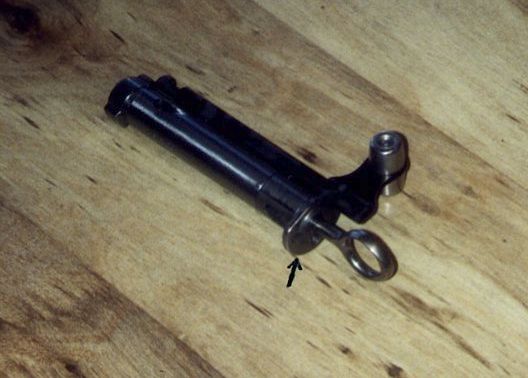
| Rotate locking lugs 90 degrees to the right, allowing
the action bar to go forward. |
| Lift the front of the operating bar slightly away from
the bolt body, disengaging the lug from the cam grooves in the bolt body. Slide the bar forward, out of the slot in the bolt flange. |
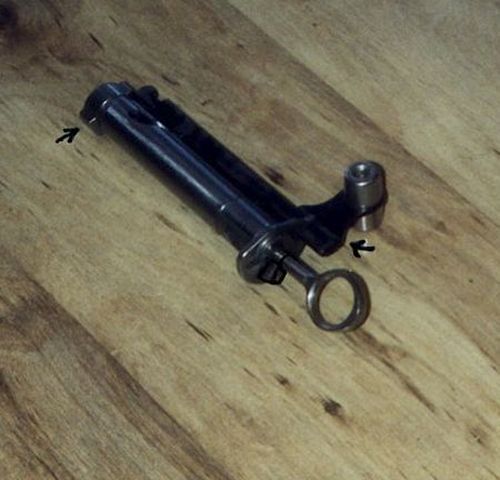
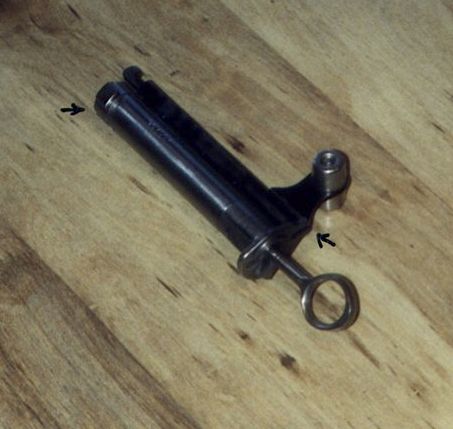
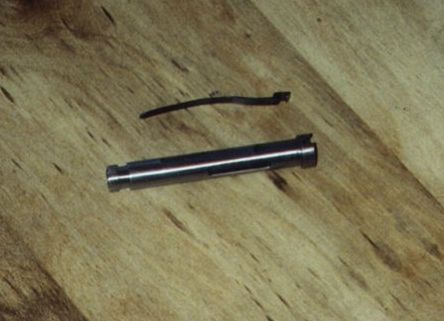
Operating bar coming off.
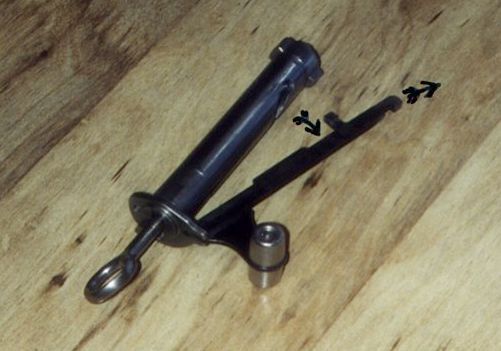
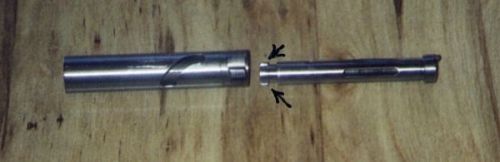
| Note the alignment of the cam groove in the outer bolt
body with the straight groove in the inner bolt body, and that you can see down into the firing pin channel. The ejector cuts in the inner bolt face and the outer bolt body line up. Grasp the safety ring again, rotate back to the "fire"
|

Cam groove "C" with inner groove beneath. Firing pin
is forward.
| Push in against the inner bolt face with thumb, and rotate
inner bolt face 90 degrees, either way. (It may help to pull the safety ring back just a bit.) Now pull the front half of the bolt, inner and outer together, forward off the back part of the bolt. The bolt face/inner half can now be pulled out of the locking lug/outer half. |
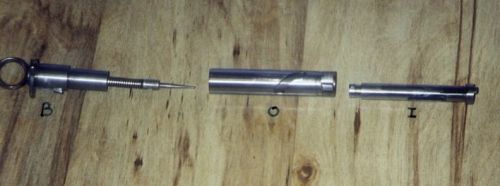
Bolt face/inner half "I". Locking lugs/outer half "O".
Back part of bolt "B".
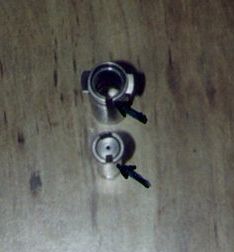
| Note the two little lugs at the rear of the inner half
- that's what held it together. You freed them from their seats when you pushed the bolt face with your thumb and turned it. |
The lugs that hold inner & outer halves together.
End view, showing the matching slots in inner bolt
face and outer bolt lugs, for the ejector.
| Holding the back part of the bolt in the left hand,
push back against the coils of the firing pin spring with the right fingers (Better wipe off any oil first). When the end of the spring clears its seat on the firing pin tip, trap the spring with the left fingers, and free sideways the doll's head joint holding the tip to the pin. |
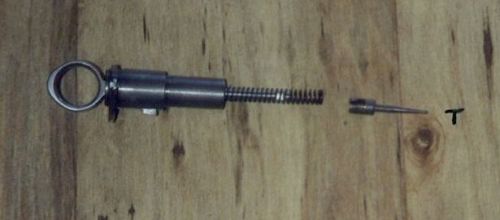
Disassembling firing pin tip "T".
| GENTLY ease the spring tension off, and remove the spring. Pull the firing pin out backwards by the ring. |
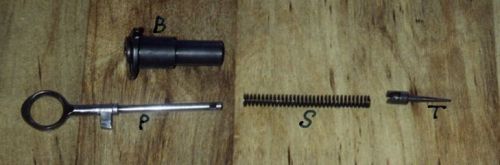
Firing pin "P", spring "S", tip "T", and bolt back part
"B".
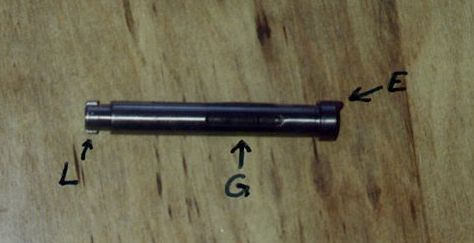
Shows extractor "E", also inner groove "G" and lugs "L".
| The extractor can be removed by lifting its hook end
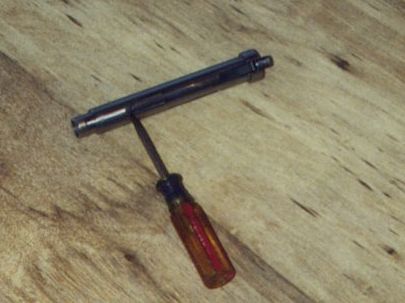
up away from the bolt face until it is just clear underneath, and inserting a thin screwdriver tip or a junky knife blade underneath to hold it away. With a small hammer & punch, tap gently on the rear, rounded end of the extractor, moving it forward until free. |
Extractor, from above.
Back end of extractor, moving forward.
Out it goes! Note the bend, for spring tension.
| NOW, clean and dry everything, and spend a little time
dry-fitting all the parts together (without springs) to see how the parts interlock and interact. Pretty neat design & workmanship, huh? REASSEMBLY: "Reassemble in reverse" is just a little
Don't let it point at your face, or under the freezer. Trap the compressed spring with your left fingers, and
Now, insert the back end of the operating bar into its
|
For questions or comments - Contact Information
Back to the Schmidt-Rubin Page