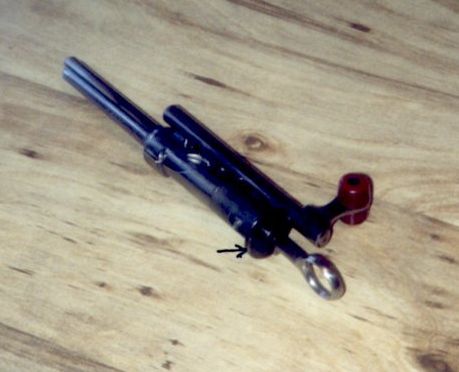
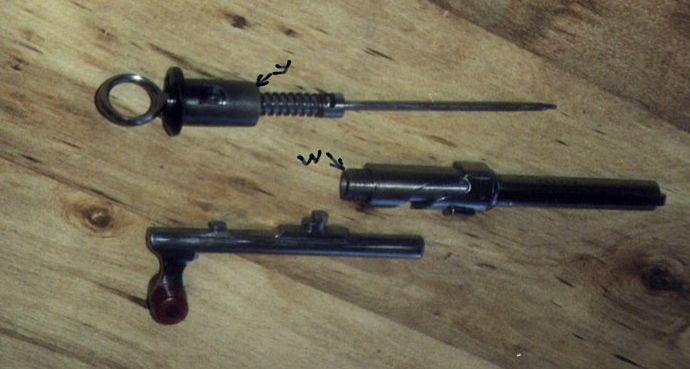
The 1911 bolt as removed from rifle. Note flange with
slots 90 degrees apart.
| Pull bolt handle back, push bolt release down, and
withdraw bolt from receiver. Wipe off any external oil. |
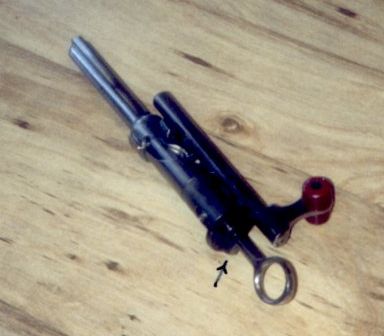
The 1911 bolt as removed from rifle. Note flange with
slots 90 degrees apart.
| Holding the bolt in one hand, pull back on the
cocking/safety ring with the other until the sear clears the rear face of the bolt, then rotate clockwise 45 degrees, so sear is halfway between "Fire" and "Safe" positions. Let sear down against the flat face on the rear of the bolt. |
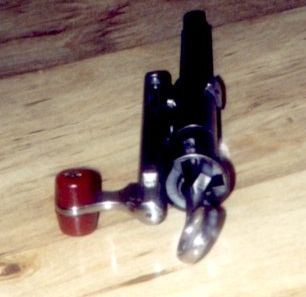
An upside-down view of the disassembly position.
| Rotate the locking lug-cam groove sleeve in the middle of the bolt roughly 90 degrees clockwise, pushing the operating rod all the way forward. |

Locking lug/cam groove sleeve rotated, operating rod
forward.
| Pull operating rod off sideways, making sure the little lug at the rear is out of its dovetail groove. |
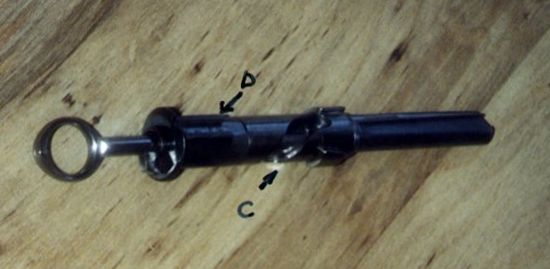
Operating rod removed. Note cam groove "C" and dovetail
slot "D".
| Now grasp the safety ring, rotate back to the "Fire"
position, and ease forward. Holding the back of the bolt in one hand, unscrew the long-nosed bolt face extension with the other, (regular RH threads) and withdraw the bolt nose along with the locking lug sleeve. |
Bolt face extension unscrewed. Threads shown, male "M"
and female "F".
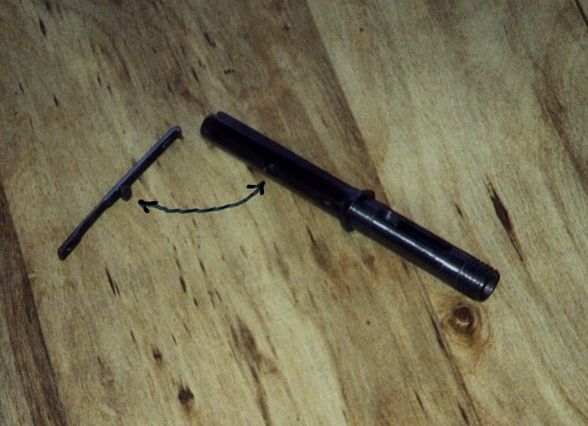
| Separate the sleeve from the bolt nose, and
set aside. Wipe the oil off the back part, spring, and pin.
|
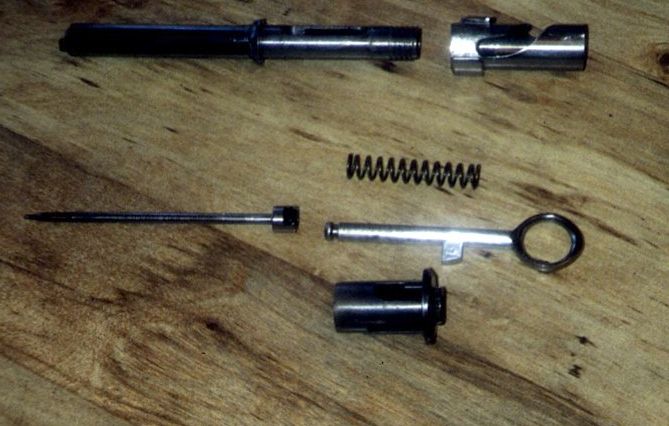
Sleeve separated from bolt nose, and firing pin tip removed.
| Clean and dry all parts. Take some time to dry-fit the
parts together (less firing pin spring) and become familiar with the fit-up. Imagine all the machine work it took just to produce a bolt assembly, and this on a mass-produced military rifle! To remove the extractor, you will need two small,
|
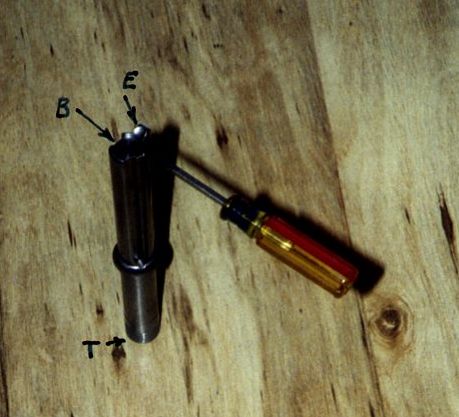
Extractor removal - bolt face "B", extractor hook "E",
threaded end "T".
| At the rear of the extractor is an undercut, like the one vent in a shotgun rib. As viewed from above, slip the other screwdriver tip into this clearance from the right. |
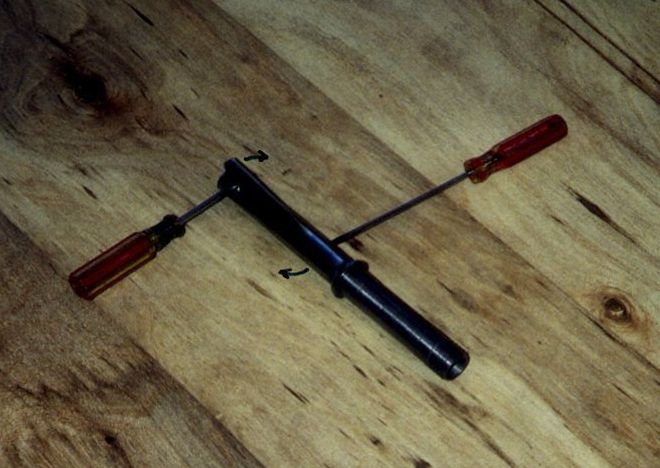
| Lift up gently, to clear another lug underneath, and
pry gently to the left, so the extractor will rotate on it center, clockwise. the spring tension will release after a few degrees. |
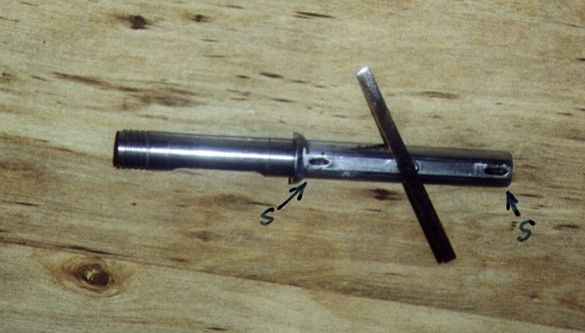
Almost off, loose now. Note front and rear lug seats
"S".
| Turn to 90 degrees, where the extractor will be free to lift up and
out. After cleaning and lightly oiling, replace the
extractor center pivot into its cutout. |
There it goes. See the lug and it seat in the middle.
| From above, with the bolt nose to the front, away from you, the hook
end will be 90 degrees to the right. Rotate
extractor counterclockwise, and pop it into place with opposed thumb pressure. **Black T-shirt, Camo BDU, Full-Auto types without opposable thumbs will have to have help here. ;) To reassemble, lightly oil the firing pin shaft/ring
Now, slip this assembly over the firing pin and into
Replace the bolt into the receiver, holding down first
|
For questions or comments - Contact Information
Back to the Schmidt-Rubin Page